


A home renovation project can be exciting, but it often comes with stress. Dust, debris, and disassembled furniture can quickly turn your comfortable home into a disorganized mess if you’re not careful. However, there are some things you can do to make it more manageable while keeping your belongings secure. Temporary storage is the most...
The post Using Temporary Storage To Maximize Your Home Renovation appeared first on Apple Storage.
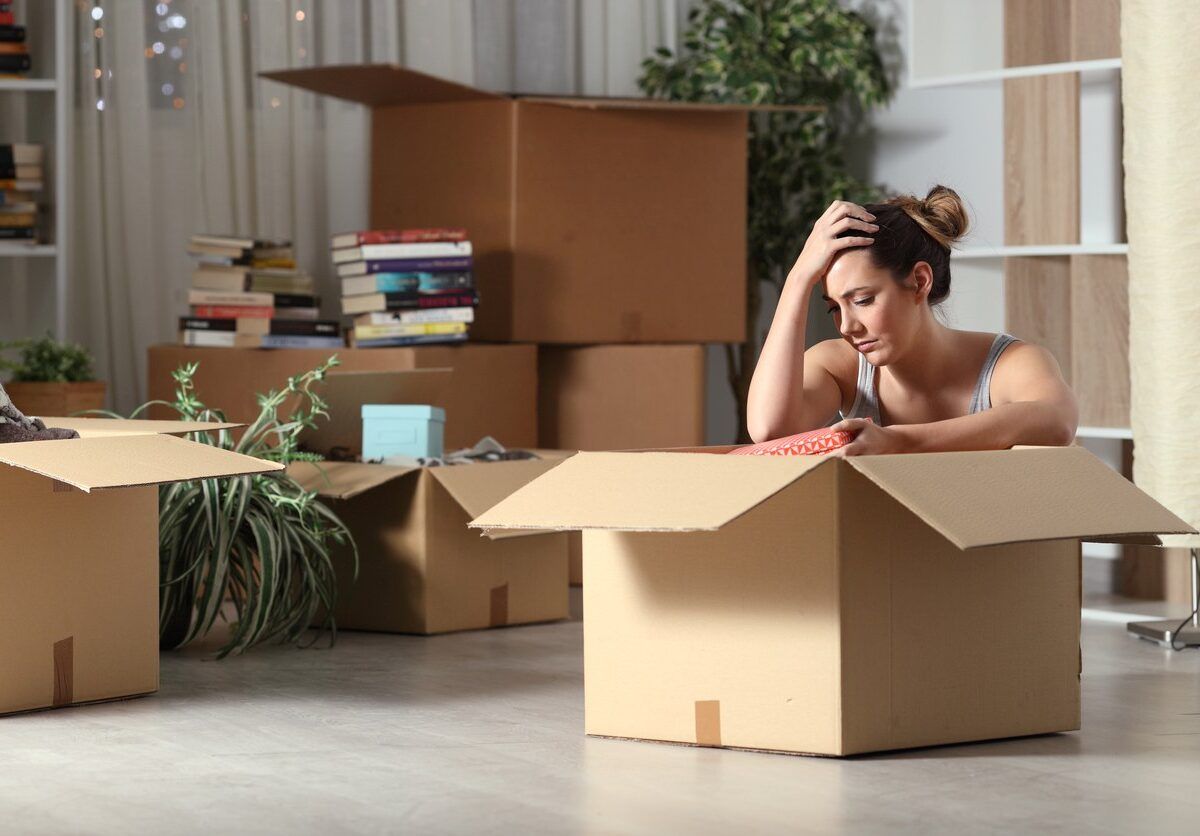
No matter how many times you move, it can often feel like a challenge. Even people who have moved several times still make simple mistakes that can cost them a lot of money. Fortunately, Apple Self Storage is here to help. Let’s go over the most common packing mistakes and learn how a residential storage...
The post Packing Mistakes That Cost You Money (and How To Avoid Them) appeared first on Apple Storage.

